Having recently upgraded to Logic Pro X, there are a lot of changes in the new version(s – 10.0 and 10.1 both added numerous changes) for me to explore. But a few have got me really excited and improved my workflow quite a bit. I’ll highlight these in a few posts.
This one actually changed in Logic Pro X, MainStage 3, and GarageBand 10 because at their core, these apps all share quite a bit.
The Effects slot used to be a bit confusing, and in previous versions of Logic Pro, what it did depended upon how you clicked on it. (Note that right- or control-clicking never does anything useful nor interesting. I’m kidding, but really, I’ve never used that menu.)
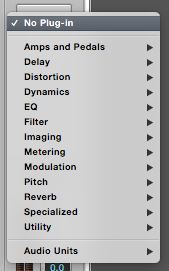
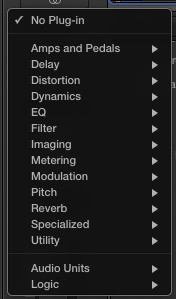
Clicking on an empty Effects slot brought up a menu listing all your effects plug-ins. This is still true in Logic Pro X.
Logic Pro 8/9 on the left, Logic Pro X on the right
But strangely, once you selected a plug-in for that Effect slot, if you clicked on the slot again, nothing happened. You had to click-and-hold on the Effect slot to bring back up the effects plug-ins menu. If you wanted to open that particular plug-in window, you had to double-click on the Effect slot. None of this was very intuitive.
Now, the Effect slots are easy to figure out, and there aren’t any tricks to get it to do what you want. When you mouse over the Effect slot with an effect already selected, the slot goes from showing you the effect name to showing you three controls that are available.
On the left is the Bypass button, which allows you to quickly deactivate the plug-in without having to open the plug-in window nor remove it from the channel strip.
Clicking the center area of the slot opens the plug-in window when it’s closed.
The control on the right opens the plug-ins menu allowing you to remove the plug-in or select another one.
For whatever reason, I never remembered the click combinations to open the plug-in window nor the plug-ins menu, so having this change in Logic Pro X has sped up my workflow immensely.

